This is Part 2 of a series of tutorials, if you need to start at the beginning, click here.
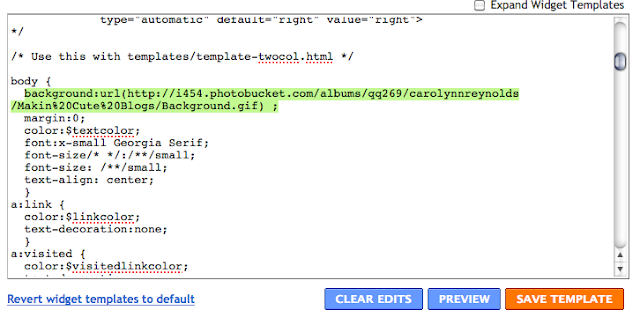
Go back to your "Edit Html" page in blogger. Paste this code where I have shown below:
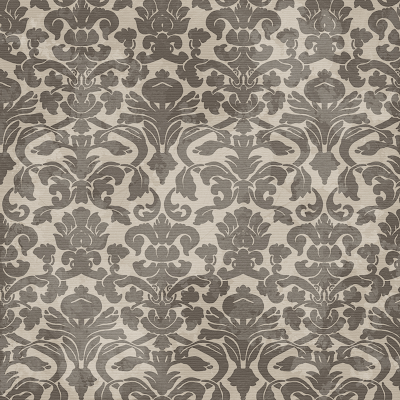
I have picked this paper from Amanda's Kit to use for my background:
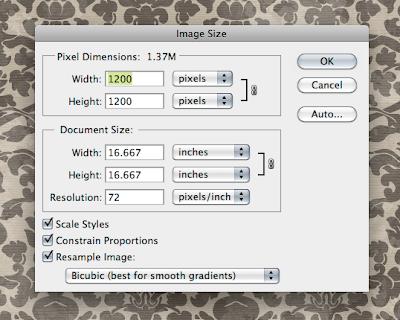
So what I need to do first is open my paper up and size it down to 72dpi and somewhere between 1200 and 1800px (I totally just grabbed that number, just remember that this is custom, so size it where you want it :)
After you save out your background, go to your photobucket account and click on "Upload Images and Video". Upload your background.


After you upload your background paper, you will need the "Direct Link" code in a minute.
background:url(your "direct link" code here) ;
If the background is not positioned how you like it (the above code will automatically place it in the top left corner, and have it repeat on the right and below), here are some links that can help you get an idea of how to position it where you want it:
Background-Position: http://www.w3schools.com/css/pr_background-position.asp
Background-Repeat: http://www.w3schools.com/css/pr_background-repeat.asp

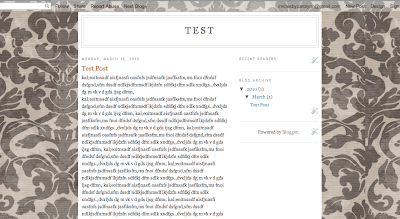
Now I want to make the part behind the Blog Posts and Sidebars white, so I am going to scroll down to my #outer-wrapper { and paste this: background: white;

And there you have it!
And there you have it!

If the background is not positioned how you like it (the above code will automatically place it in the top left corner, and have it repeat on the right and below), here are some links that can help you get an idea of how to position it where you want it:
Background-Position: http://www.w3schools.com/css/pr_background-position.asp
Background-Repeat: http://www.w3schools.com/css/pr_background-repeat.asp
Move on to Custom Blog Design Part 3: 3 Column Template
Relax and enjoy, don't be rush.
ConversionConversion EmoticonEmoticon